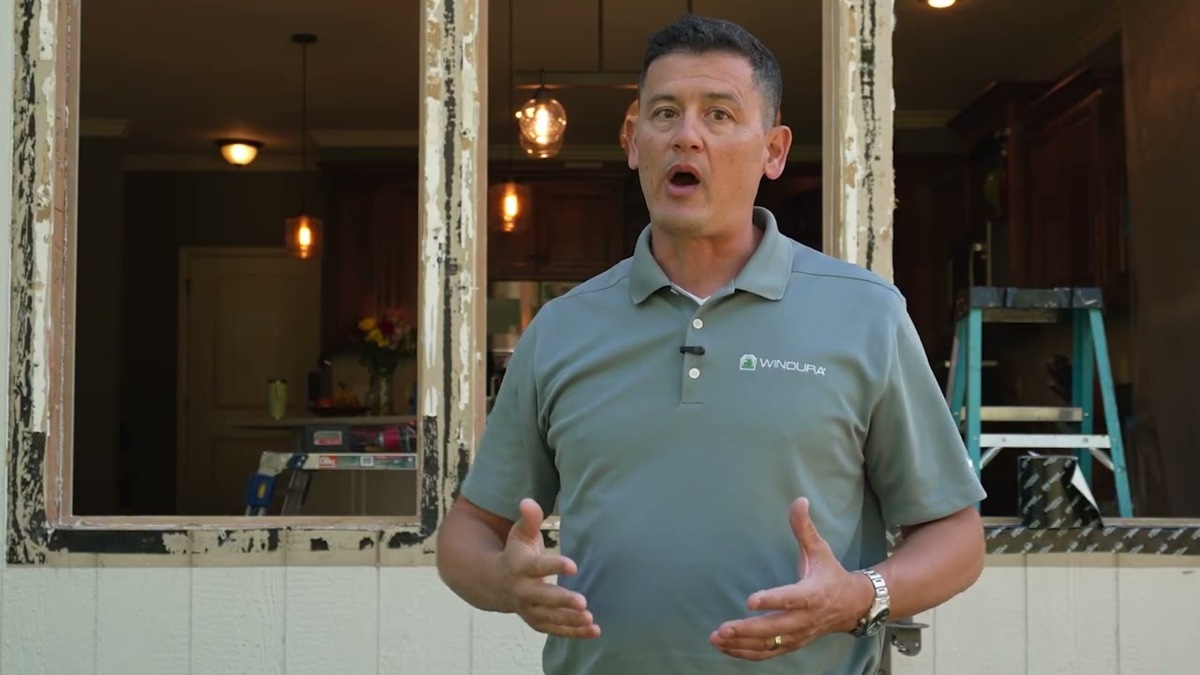
Once the old window comes out, we get our first clear look at the opening behind it. This is an important part of a full-frame window replacement because it gives us the opportunity to inspect the framing, address damage if we find it, and properly prepare and flash the opening before the new window goes in.
At Windura, we install windows using a full-frame, rough opening method. Rather than inserting a smaller replacement window inside the existing frame pocket, we remove the old window and frame so we can see what is actually happening underneath the trim.
Most of the time, we find nothing unusual. When a problem does exist, we want to catch it now, not after the new window goes in.
What the Exposed Framing Can Tell Us
With the old window and frame removed, we can see the actual construction of the wall, typically 2×4 or 2×6 framing.
That is one of the key differences between a full-frame installation and a pocket or insert replacement. With an insert installation, the existing window frame stays in place and the replacement window is installed inside it. This can be a less involved and less expensive installation method, but it also means the condition behind the original frame generally remains hidden.
Our rough opening installation method gives our installers the opportunity to inspect that area before the new window is installed.
If everything looks good, we move on. If we find deterioration or evidence of an old leak, we can address it while the opening is accessible.
Checking the Sill and Framing for Damage
We pay particular attention to the sill at the bottom of the opening. Water naturally travels downward, so when moisture has made its way behind a window, the lower portion of the opening is a common place to see the evidence.
Some deterioration may be visible before replacement, but we usually can’t know the full condition of the framing until the old window is removed. That’s why this inspection takes place during installation rather than during the initial estimate.
If you’re wondering how to tell when deterioration calls for a repair versus replacing the window, we’ve covered that in more detail in our guide to wood rot around windows and doors.
Once the opening is exposed, our installers generally:
- Clean out the entire opening
- Inspect the sill, jambs and header
- Look for rot, deterioration or signs of previous water intrusion
- Check that the opening is level, square and plumb
- Make any necessary repairs before flashing and installing the new window
Fortunately, most of what we encounter is minor. If a small section of sill or framing has deteriorated, we can often remove the damaged wood, replace it with new lumber we have on-hand and keep the installation moving along.
What Happens if We Find More Extensive Damage?
Occasionally, we uncover evidence of a leak that has been happening slowly for many years.
A very small amount of water entering an opening over decades can eventually affect more than the window itself. Moisture can travel into the wall below the opening and potentially reach insulation, framing, or other parts of the structure.
When we uncover damage beyond a routine repair, we don’t simply cover it back up and continue.
Your project leader will show you what we’ve found, explain what needs to be addressed and discuss the general scope and cost before additional work moves forward. We want you to understand what’s happening inside your home and have the opportunity to make an informed decision before we proceed.
If an unexpected repair becomes larger than anticipated, Windura also offers financing options.
Preparing and Flashing the Window Opening
Once we’ve confirmed that the opening is sound, we clean and prepare it for flashing.
This may seem like a small detail, but surface preparation matters. Flashing tape needs a clean, dry surface so the adhesive can bond properly.
We use the OSI sealing system. OSI butyl flashing tape is installed across the sill and extended approximately 6 to 8 inches up each jamb, creating an additional layer of protection in one of the areas most vulnerable to water intrusion.
OSI butyl flashing tape is designed to self-seal around fasteners like nails, screws and staples that penetrate the tape during installation. After the new window is installed, additional flashing is applied over the window flange as part of the water-management system.
The goal isn’t to wrap the window in something we would describe as completely waterproof. Homes need properly designed layers that manage water and direct it back toward the exterior if it gets behind the outermost seal.
That’s what the flashing is there to do: help keep water moving out rather than allowing it to reach the framing of your home.
The OSI products we use meet the highest standards, and Windura installers are trained and certified by OSI in the proper use of the system.
When the Opening Isn’t Square Anymore
Many Kansas City homes have been standing for decades, and houses naturally settle and move over time.
That means we regularly remove a window and find an opening that is no longer perfectly level, square or plumb—even if it was when the house was originally built.
The new window, however, arrives square.
Our job is to properly fit that window to the opening rather than force it into place.
Depending on the home, that may involve shimming the window so it sits correctly and operates smoothly. Other times we adjust the interior casing and trim instead. The finished window looks right even when the framing behind it isn’t level.
Our window and door installation crews work with these conditions regularly, particularly in older Kansas City homes.
The homeowner may never notice the adjustments. They’ll simply have a window that looks right, operates correctly and is properly sealed.
Why Looking Behind the Window Matters
There is a lot about a window installation you’ll never see once the trim goes back on.
That’s exactly why we think this stage of the project matters.
A full-frame replacement gives us the opportunity to see the condition of the opening, repair problems when necessary, properly flash the sill and framing, and give the new window a sound opening to go into.
You can see examples of this work in our project gallery, including window replacements throughout the Kansas City area.
If you’re considering new windows, we’ll assess the condition of your existing frames. We’ll explain what we expect to find based on what is visible. And we’ll walk you through what happens if installation turns up something unexpected.
You can schedule a consultation with Windura to learn more about our full-frame installation process and whether it’s the right approach for your home.
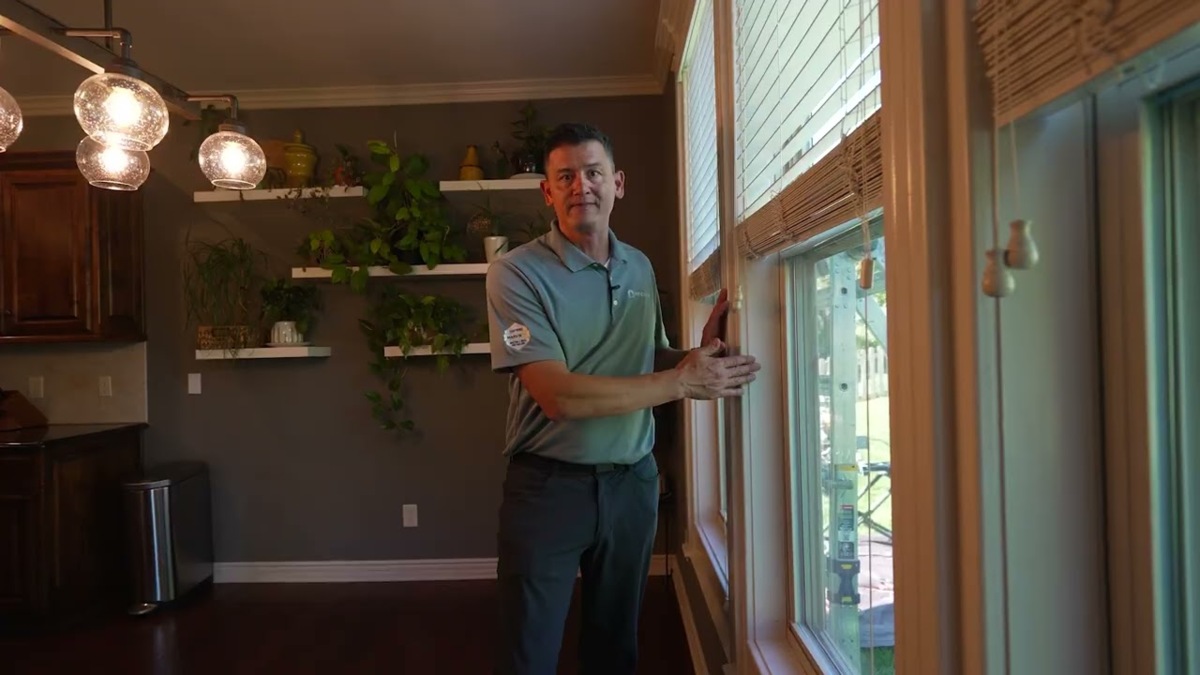
Video: Window Opening Preparation
What happens after the old window comes out but before the new one goes in?
In this video, we take you inside a full-frame window replacement to show a part of the installation homeowners don’t usually get to see.
You’ll see how our crews inspect exposed framing for wood rot and water intrusion. We make minor repairs when needed. Then we prepare the opening with self-sealing flashing tape.
We also explain what a rough opening installation reveals that a pocket or insert replacement leaves hidden. You’ll see what happens when an old leak has traveled past the opening. And you’ll see how our installers work with older Kansas City homes that have settled out of square.
It’s a look at the work that eventually disappears behind the trim—and why we believe that work is such an important part of a long-lasting window installation.
Thinking about replacing your windows? Schedule an in-home consultation, and we’ll assess your existing frames before you decide anything. We’ll tell you what we expect to find behind them and what happens if we find damage.