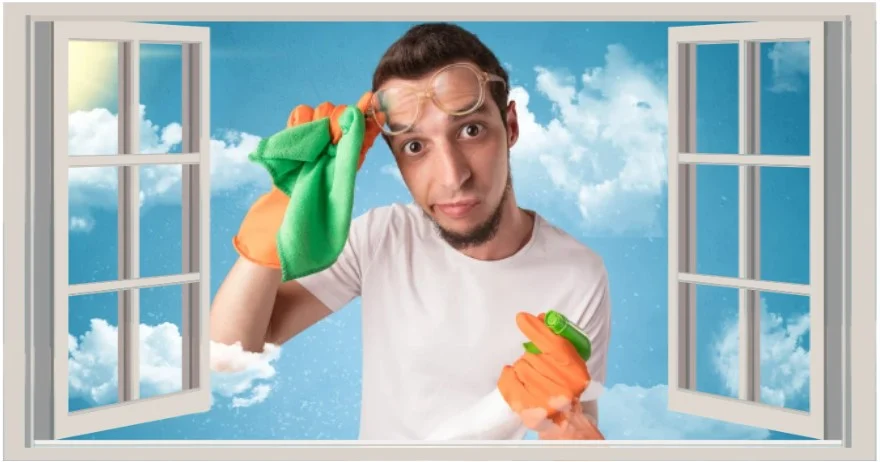
Windows have the power to transform any space. However, over time, they will amass detestable dust, grimy filth, and smudges, mercilessly obstructing the beauty of the outside world. Fear not! In this guide, we will step through the journey to unleashing the power of DIY techniques that will obliterate these window woes with relentless force.
Step 1: Gear up
Grab your favorite window cleaner or make your own mighty solution per the recipe below. A lint-free cloth, squeegee, ladder and extension pole might come in handy too, as you’re about to conquer those dirty windows like a true cleaning superhero!

Step 2: Clear the path to victory
Move aside curtains, blinds, and any other window obstacles.
Step 3: Skirmish
Debris build-up in the elusive nooks and crannies of your window tracks is an obstacle to smooth window operation. Win the first skirmish by using an old toothbrush to loosen dirt, a butter knife wrapped with a wet rag to really get down in there, and your vacuum hose attachment to vanquish the collected detritus like a domestic dynamo!
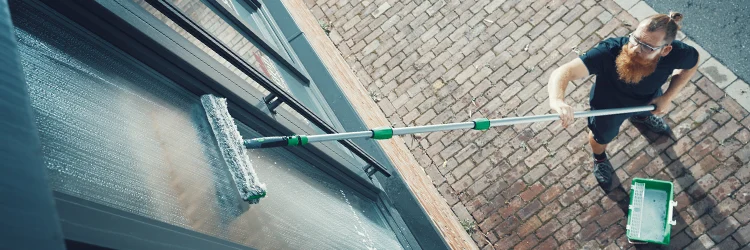
Step 4: Sound the battle cry
Arm yourself with cleaning solution, wield your sword (a.k.a. cloth or squeegee), and summon the power of your mighty elbow grease to terminate dirt and grime, emerging triumphant as your windows gleam with a victorious shine.
Step 5: Aftermath
If your fight against grimy windows leaves streaks in it’s aftermath, don’t surrender! Streaking occurs for three main reasons: Your cleaning solution is too concentrated, your tap water is leaving mineral deposits, or previously applied cleaning products have left their residues behind. Try modifying your solution, using distilled water and giving windows a final wipe with a clean coffee filter or sheet of newspaper (if you can find such a relic).
See more tips and videos in the Service Questions section of our FAQs.
Are your windows & doors beyond
cleaning and repair?
Schedule a consultation,
and the team at Windura will go to battle for you!

May victory over window grime be your faithful companion,
Daniel Lee
General Manager / Owner
Protect Your Home with Premium Windows & Doors
(913) 362-3872
windura.com
Windura, 11860 W. 91st Street, Overland Park, KS 66214, (913) 362-3872